Answer: More scraps, of course!
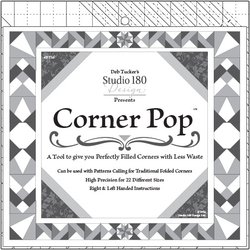
A while ago my friend Elaine shared with me a stack of fabric samples a shop down the Hi-Line (that’s U.S. Highway 2 in Montana-speak) had given her. There were some great tone-on-tones and small prints perfect for cutting into Thrifty Quilter pieces. Several of them were fun novelty prints that were just too cute to chop up, so I chose a baker’s dozen of them and decided this would be a perfect chance to try out my newest tool from Studio 180 Designs – The Corner Pop® trim tool.
This tool is designed to help you put triangular corners on right-angle corners, and do so more accurately than with the standard stitch-and-flip method.
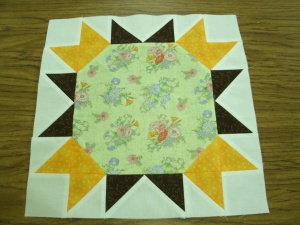
The block I had in mind is one I called “Showcase B”. Yes, there is a “Showcase A”, but I think I’m going to save that one for a special block in September.
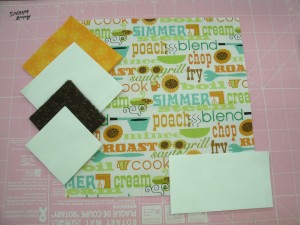
For each block, you will need:
Novelty Print: one 8.5″ square
Dark: eight 2.5″ squares
Accent Color: six 3.5″ squares
White: two 3.5″ squares, four 2.5″ squares and four 2.5″ x 4.5″ rectangles
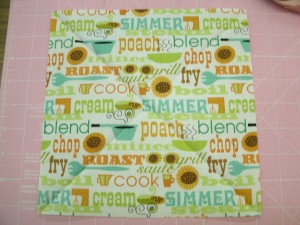
Note: Perhaps you have noticed that the novelty print shown in the photo above does not match the one in the finished block at the top of this post. I can explain.
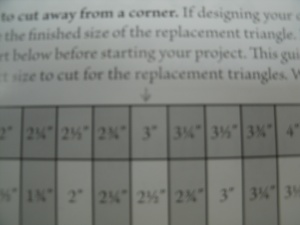
There is a chart in the instruction sheet that comes with the Corner Pop® tool, and I had marked it for use on another project…with larger corners. Don’t do that.
Okay, back to business:
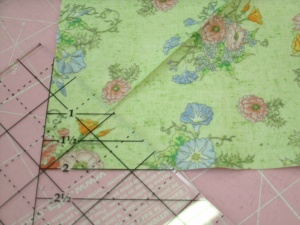
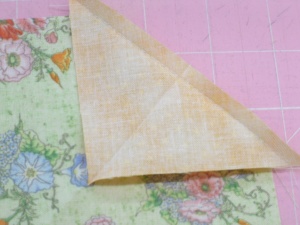
Step 1a- I pressed diagonal creases in my 8.5″ novelty print square.
Step 1b- Use the chart to determine the size of the triangle you need to trim from the corners of the novelty print square. For this block, I needed a 2″ cut on all four corners. Double-check the chart. You only get one chance make this cut!
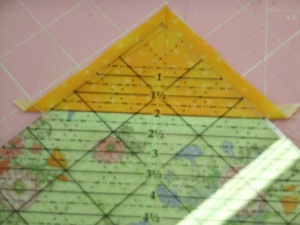
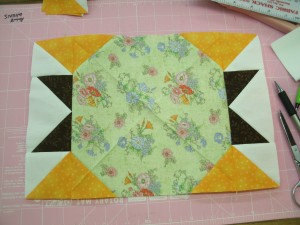
Cut two of the 3.5″ squares diagonally to make four triangles. Center a triangle on the cut edge of the novelty square. I folded the triangle in half, then aligned the crease with the crease on my large square. Sew a 1/4″ seam and press.
Step 1d- Now you can use the Corner Pop® tool to trim the corner to its finished size.
That’s it. By the time you get to the 4th corner on this block, you’ll be an expert!
Click HERE for Deb Tucker’s tutorial on this handy tool.
Back to the block:
Step 2- Cut the four 3.5″ white squares and four 3.5″ accent color squares diagonally. Sew into eight half-square triangles (HSTs) and trim each one to 2.5″ squares. I illustrated this in the July 5th blog.
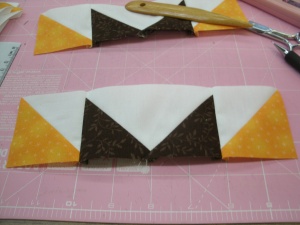
Step 3- Use the eight 2.5″ dark squares and the 2.5″ x 4.5″ white rectangles to make four flying geese units. This post from last fall will explain the stitch-and-flip method.
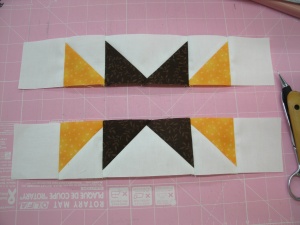
Step 4a- Sew the HSTs to the flying geese units as shown. Make four of these strips.
Step 4b- Sew two of the strips to the sides of the novelty square.
Step 5a- Sew the 2.5″ white squares to the ends of the remaining strips.
Step 5b- Sew these strips to the top and bottom to complete your Showcase B block.

